Showing posts with label Owl Builder punch. Show all posts

Tuesday, June 24, 2014

Busy Weekend and Punch Art

This past weekend I went to my first PowWow.
We left very early and it was a long bus ride. Of course, I took a "bus project" because I like to have something to show for a long trip.
This time a took the pieces that I had punched for one of the Punch Art card fronts for a swap for convention. I signed up for several groups of punch art (and others!) for convention. Each group needs 21 card fronts and I usually make a few extra to swap after the organized one. 
I sponged the edges and assembled the squirrels on this card on the way there and attached them to the card front on the way back. What do you think? 
I am quite pleased with the way they turned out! I still need to give each one some whiskers. 


The punches I used for the squirrel are the owl, Bitty Butterfly, large and small ovals. 
The trellis is made with the Chevron punch and the flowers are made with the Petite Petals.

The PowWow was very interesting. 
When we got there, it was lunch time and we were hungry. I like trying new foods and was not disappointed. They had a whole lane of vendors with food and crafts! 

This is one of the menu boards.


 We had an Indian Taco for lunch. VERY GOOD! It was on Fry Bread. 
Later on we went for the deep fried mac and cheese. 
Very different; very good.


The opening ceremony was magnificent. 


The drummers were in the center to the field in that round structure. 
The parade started with the flags.

Followed by the veterans.


There were different groups of dancers. This group all had many bells sewed to their skirts. 

This little one was just being taught to do the steps.


One of the many outstanding outfits. 


This one was THE MOST outstanding! 
He made it himself as many of them do. 


Another view of it. 


Another one with much beautiful beadwork. 

It was a wonderful experience! We also visited the Culture Center and the cemetery. 
More about that next time. 
Thanks for stopping by. 

Thursday, July 25, 2013

Meow!

I wouldn't want to meet up with this cat! It has quite an attitude. 
I think it has to do with the eyes. 
Some of them looked more friendly than others. 


The cat is on a background of crumb cake that has been textured at the top with the woodgrain folder. 
The table cloth is one half of a 3" square that had the gingham wheel applied with Real Red ink. 
Next, I added the strip of red to edge the table. 
The white, wide oval made the body. The black wide oval was put back through the punch to make the smaller ovals for the spots on the cat. The middle section was put on the back for the top of the head. 
I slipped this part in behind the table edge. The ears are tips of the pennant punch and are tucked in behind the body. 
The tail, made from the word window punch with an end of the word window in white that is fussy cut at one end and attached to the end of the tail is also tucked in behind the body.
Legs are made from one Modern Label punch that has the little label from the punch pack in white added for feet at each end. It is then cut in half and added to the front of the body.
Two white circles from the punch pack are added for cheeks. I sliced very narrow strips of black card stock and placed them across the cheeks and secured them with the pink heart from the Owl Builder punch. The eyes are also made from that heart from the Owl Builder but it had to be cut in half. The angle and the dots in the middle that are applied with a marker are what causes that attitude! 
If you make a cat of your own, please send me a picture. I would love to see yours! 


Thanks for stopping.


Wednesday, July 24, 2013

Inspiration comes from all over!

Today I am showing you the fox!


Here are the punches that I used.
I sponged all of the edges with the Tangerine Tango ink. 


I love this little guy BUT was it ever LABOR intense! 
Making one or two isn't too bad but I had 20 + 1 to make for the swap! 

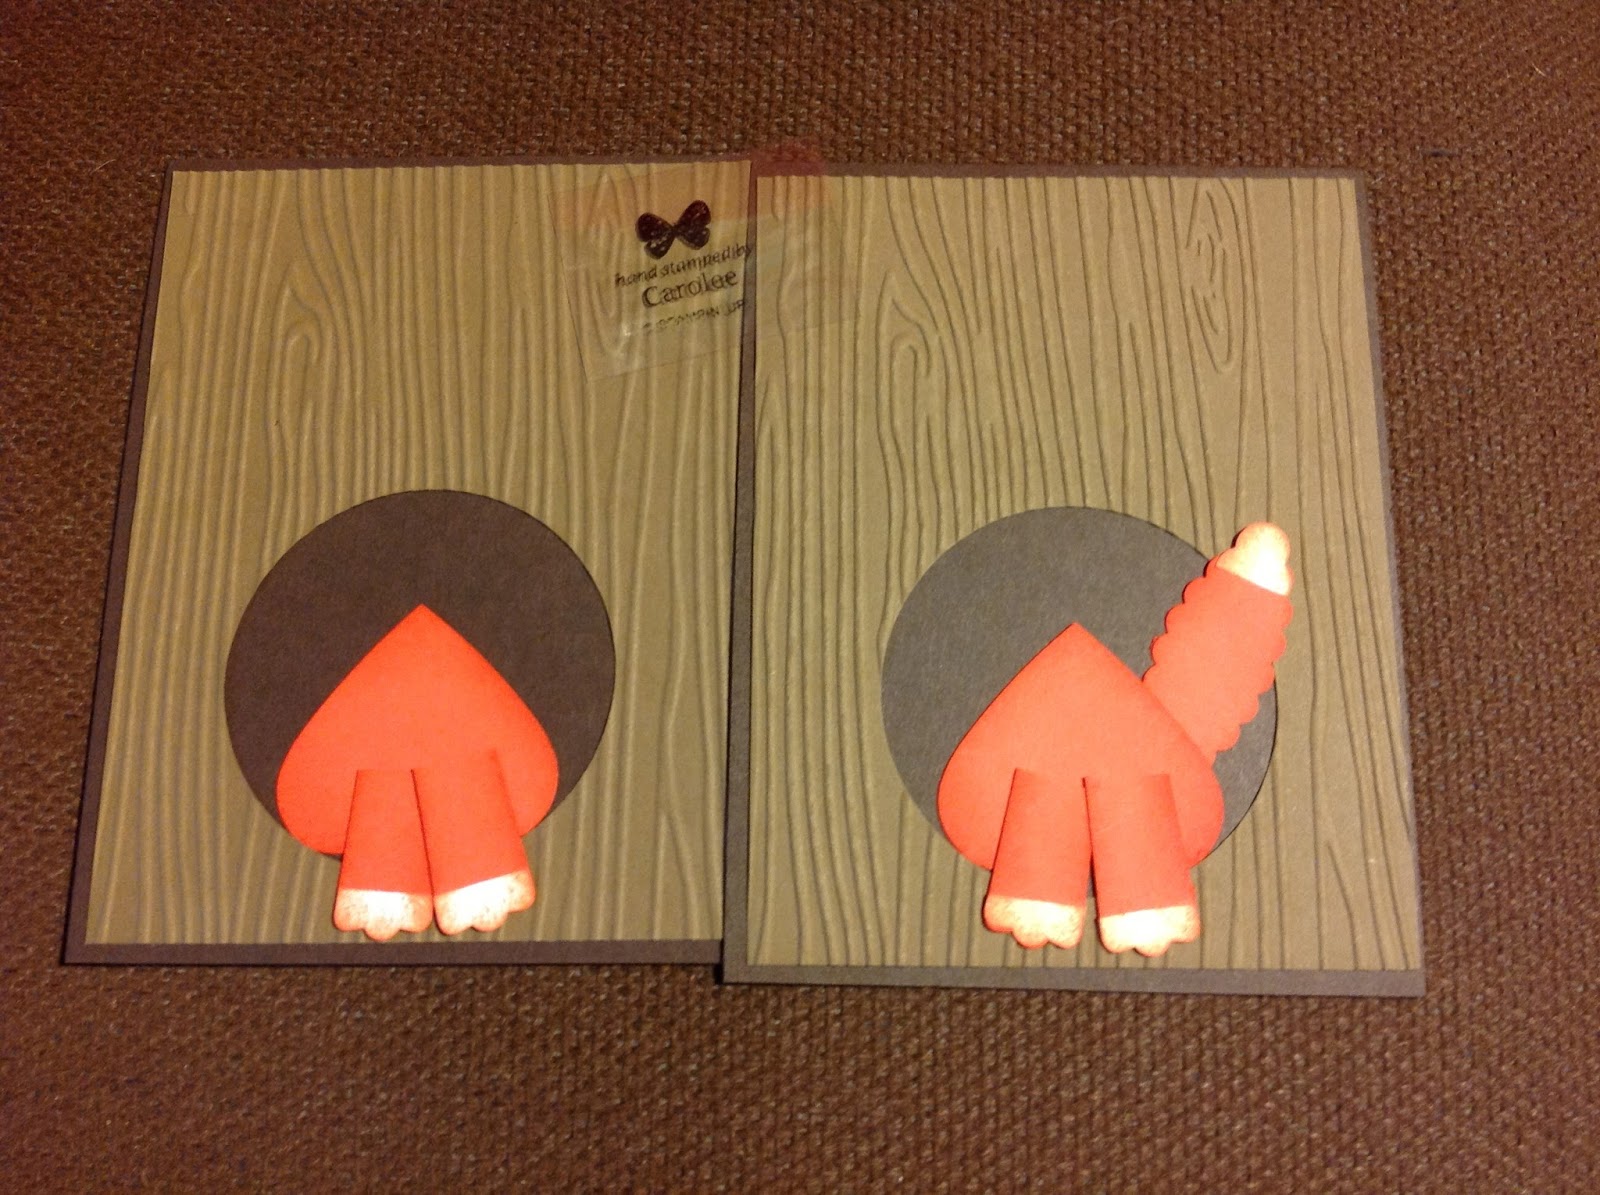
I started with the Soft Suede card stock put through the Big Shot in the Woodgrain folder. I punched out the 2 1/2" circle and layered on Early Espresso card stock.
This is where I got all the circles for the crib that I showed you yesterday! 
Next, I put the full heart in the opening.


Here I added the feet. 
The tail is tucked behind the full heart. 


The head is assembled separately.


Then it is added to the card.
Cutting that tiny heart in half for the eyes is not easy but worth it. The little bit of white gell pen in the center of each eye puts on the finishing touch that is needed. 


Where did I get the idea to do this little guy? 
I checked on Pinterest and saw these two pins. 


How do you think I did?

Thanks for stopping by today. 
The Cat is nest on the list.